Free Shipping On all orders over $100.00
15695, 15696 SenSura Xpro One-piece Drainable Ostomy Pouch (10/bx)
Coloplast
- SKU:
- 15695, 15696
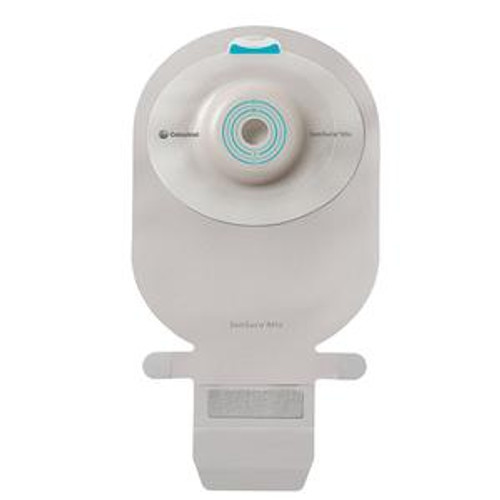
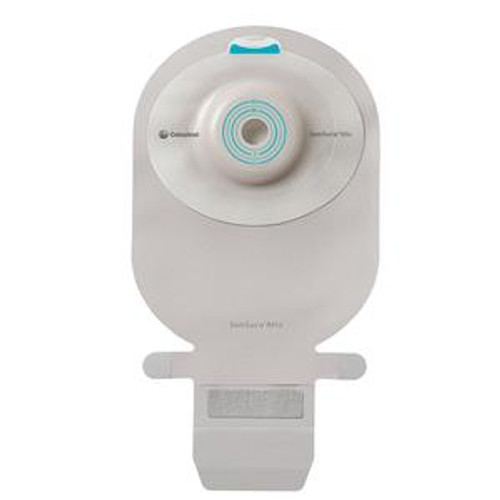
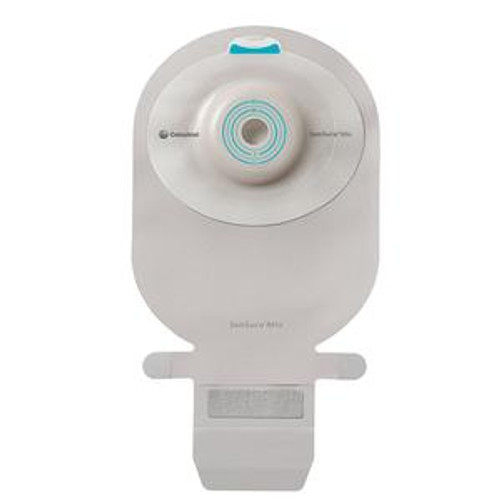
15695, 15696 Coloplast® SenSura® Xpro One-piece Wide Outlet Drainable Pouch with Integrated filter (10/bx)
- Cut-to-fit, Convex light skin barrier
- EasiClose™ Integrated Closure
- Stoma opening: 3/4" to 1-3/4"
- Pouch length: 11-1/2"
- Transparent
- 10 per box
- HCPCS: A4390
- Item# 15695 Size: 5/8" - 1-5/16" Cut-to-Fit
- Item# 15696 Size: 5/8" - 1-11/16" Cut-to-Fit
New double-layered adhesive -- The SenSura adhesive features a unique two-layer design. The lower layer ensures absorption while the upper layer provides flexibility and the ability for the adhesive to flow with body movement (enhancing mobility). Together, the layers protect the skin and maintain a healthy moisture balance.
Filter -- The innovative wave filter works automatically. The filter labels, enclosed in each box, may be used to protect and cover the filter when showering or bathing. Simply press a label on the top of the filter opening.
Soft pouch cover -- The new soft cover is durable and water repellant. Pat dry after showering.
For Convex Light only -- Convex Light products are designed for flush (skin level) stomas. Convex Light pouches come available with belt loops, to make attaching a belt more convenient.
EasiClose WIDE Outlet – a step by step process
(Closed pouch users move to Step #4 ‘Application’)
Close the outlet before use
-
Place the pouch on a flat surface. Fold the lower plate over the larger plate (similar to sealing an envelope). There may be slight resistance.
-
Roll the outlet upwards toward the pouch two more times. A Velcro® strip will become visible.
-
Seal the outlet by folding the Velcro® hook ears onto the strip. For more discretion, the sealed outlet can be folded under the soft cloth.
Applying the Pouch
-
Cutting
-
Trace the size and shape of the stoma on the adhesive measuring guide. Cut an opening to fit the size and shape of the stoma. Do not leave excess space between the stoma and the adhesive.
-
Cutting is easier with the use of curved scissors.
-
Warm the adhesive
-
Warming the adhesive between your hands priori to application. This helps the adhesive warm up to body temperature, which may result in better wear time. Skin should be clean and dry before applying the pouch.
-
Removal of protective film
-
Place a thumb on the white tab and use the other hand to pull the blue release tab away from the adhesive.
-
Application
-
Use gentle pressure to secure the adhesive to the skin around the stoma. Run fingers along the edge of the adhesive to ensure a good seal.
-
Removal
-
Use the white tab on the adhesive to gently pull the ostomy pouch away from the skin while applying light pressure on the skin with your free hand.
-
-
-
-
-
Emptying the Pouch
-
Open the ostomy pouch
-
Lift both ears off the Velcro® plate. Unfold the outlet and position for emptying. The lower flap of the outlet should be folded backwards and fixed by the Velcro® dots on the back of the outlet. This creates a more hygienic emptying process.
-
Empty the ostomy pouch
-
Flow is controlled by pinching the outlet opening.
-
Clean the outlet
-
Clean the outlet in one sliding movement away from your body with a tissue and repeat.
-
Close the outlet
-
Fold the lower plate over the larger plate (similar to sealing an envelope). Repeat steps 2 through 3.
Extend your ostomy appliance wear time with Elastic Barrier Strips 120700 - also available in two other shapes!


