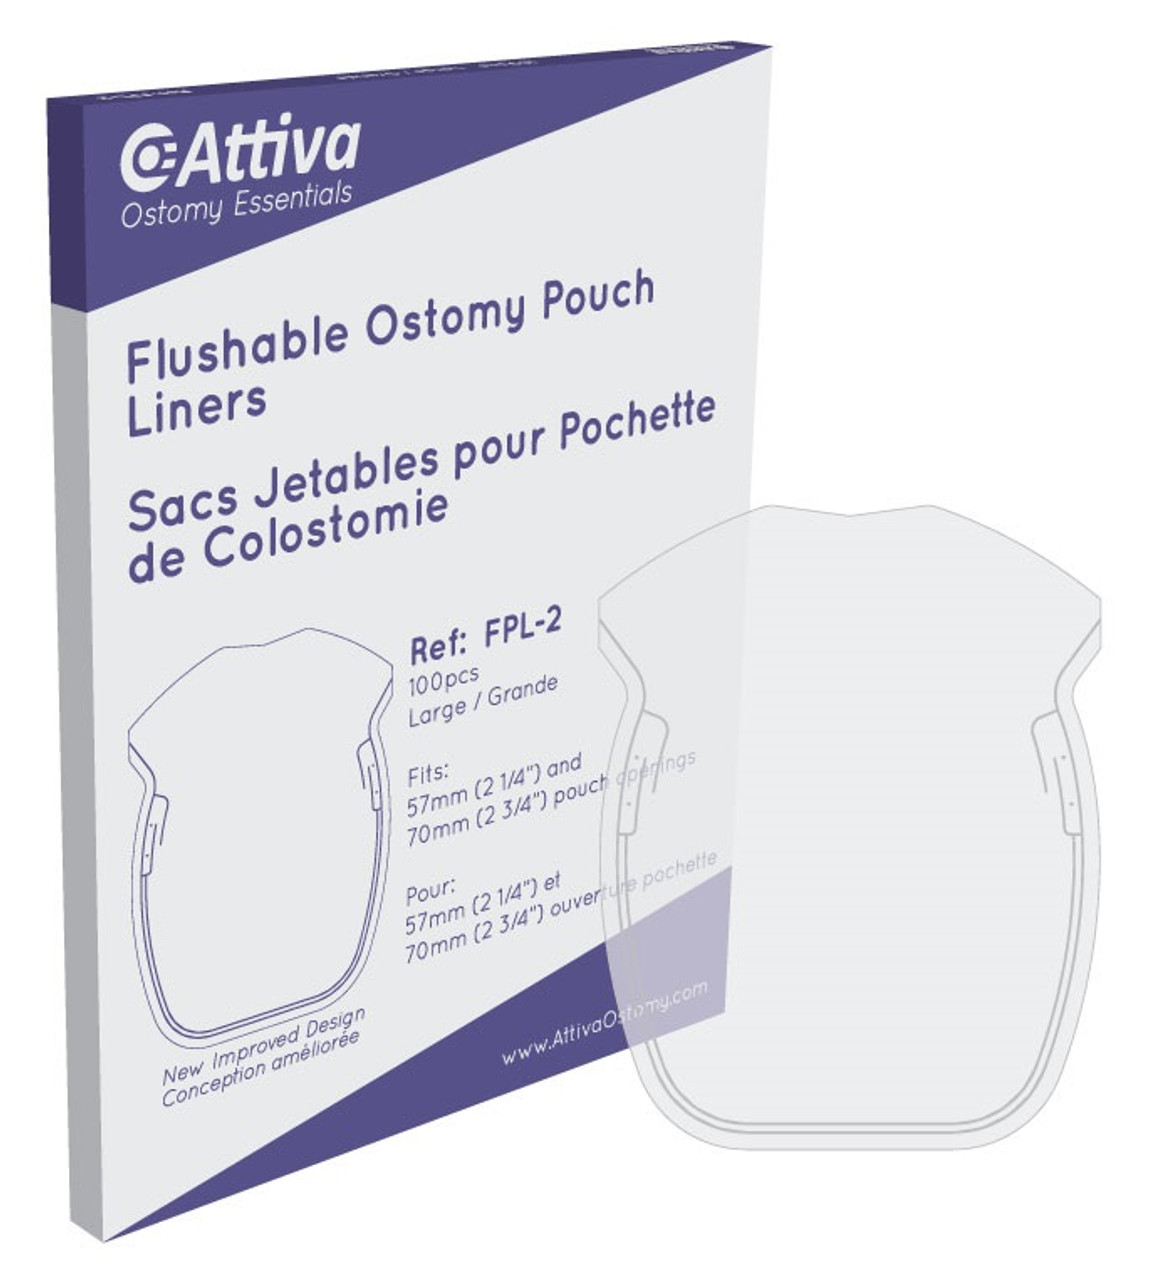
Ostomy Pouch Liners - An Instructional Guide How To Insert and Remove The Attiva Ostomy Pouch Liner
14th Jan 2025
Instructions for Inserting the Liner:
- Optional: With a pin, create 1 or 2 holes in the "shoulders" of the liner, to allow gas to escape.
- With dry hands, insert the liner into the pouch opening.
- Spread open the liner within the pouch by inserting two fingers into the liner opening and spread the liner out.
- Position the opening of the liner over the pouch ring, with about 1" of liner remaining outside the pouch.
- Blow into the liner to open it up, and smooth out any wrinkles around the pouch ring.
- Attach the pouch with the liner inserted onto the flange/wafer. The exposed portion of the liner should be sandwiched between the flange/wafer and the pouch.
Instructions for Removing the Liner:
- Pull the liner slightly, but not completely out of the pouch.
- Grab one corner of the liner and pull it out. The rest of the liner should easily come out now.
- Flush the liner and its contents down the toilet.
Notes: Not for use in septic tanks. With some weak flushing toilets or toilets with low water, you may have trouble flushing the liner - in these cases empty contents of the liner into the toilet and discard the empty liner. Keep out of reach from children and animals.
Questions not answered here? Contact the manufacturer directly!
https://www.ostomyessentials.ca/contact-us/
Buy Attiva Ostomy Pouch Liners Today! Click HERE

